|
| Our Field Ecology Center published more than
180 methodical materials for nature studies. Some of them are in English: |
|
|
|
Plotting a Profile of a River Valley Slope
© Alexsander S. Bogolyubov,
Russia, 1999
© Michael J. Brody, USA,
2003
 This manual contains a procedure for plotting a
geomorphological profile of the valley of a small river or stream with the help of a
simple leveling instrument. The work includes construction of the leveling instrument,
selection of the site for vertical surveying, determining the slope profile and
presentation of results. This manual contains a procedure for plotting a
geomorphological profile of the valley of a small river or stream with the help of a
simple leveling instrument. The work includes construction of the leveling instrument,
selection of the site for vertical surveying, determining the slope profile and
presentation of results.
This field study has instructional video
featuring real students conducting the ecological field techniques in nature. Each video
illustrates the primary instructional outcomes and the major steps in accomplishing the
task including reporting the results.
Introduction
When concluding ecological research connected with studies of natural complexes, it is
necessary to graphically present the interrelations among the main
components of the environment: geological foundation, relief, soil, vegetation and fauna.
Such data can be obtained in two major ways: by plotting a landscape map or as a
result of laying a complex landscape profile.
Complex profiles, which cross main relief elements that are typical for the studied
area, provide a better visual conception of interrelations among the environmental
components. The complex landscape profile includes images of all main
environmental components starting from relief and ending with wildlife.
The relief profile, i.e. graphical representation of the area Уfrom the
side," as a cross-section, or more often Ц along the line that goes across main
relief forms, makes the basis of a complex profile.
Plotting of a relief profile is one of the forms of so-called vertical surveying
of an area. In contradiction to horizontal surveying (making a plan of the area,) it
allows you to make a visual representation of relief of the studied site.
This lesson will result in plotting a relief profile; it is advised to plot a profile
of the valley of a small river or stream. Acquired knowledge and skills, as well as
results obtained at the given lesson, will lay the foundation for conducting integrated
research aimed at the study of interrelations of natural components on the basis of the
landscape profile.
The following items are necessary for this lesson: 2 school leveling
instruments, 50-meter measuring tape, compass, scale paper.
Making a school level
A school level is simplest instrument designed for determination that one point
on the area is above (higher) than another one while completing a vertical survey of the
area.
The leveling instrument can be easily made. It consists of two stakes, attached
to each other in the form of a УT." The vertical stake is 1 meter high, and the
horizontal slat (a sight) is about 20-30 cm long and is fixed strictly perpendicular to
the vertical stake. The junction of two rods should be as rigid as possible, so that the
perpendicularity of the angle will not change in the course of long-term use. For this
purpose, it is recommended to fix the rods with two plywood or plastic triangles from both
sides. The height of the level from the top surface of the vertical slat down to the
bottom of the vertical pole should be exactly one meter. That is why it is recommended to
use a rod slightly longer than one meter to make the leveling instrument. After the rods
are attached together, you can measure the length and cut off the lower end.
At the junction of the rods, small nail is knocked in, and a small weight, for example,
a nut, is hung from the nail on a string. The verticalness of the level will be judged by
the position of this plumb bob.
The vertical, one-meter rod is marked into sections of 5 cm long from the top to the
bottom with the help of a permanent marker; the top surface of the horizontal slat is
taken as a zero point, and the bottom of the vertical pole is marked as 100 cm.
In order to make sighting easier, two nails (without heads) are nailed into the edges.
The nails serve as УforesightsФ for Уtaking aim." However, if you wish, the
level can be made without them.
It is recommended to make two identical leveling instruments for this lesson.
Selecting a site for vertical surveying
This educational task is aimed at plotting a relief profile of a small
river or stream valley with subsequent analysis of interrelations among landscape
components including relief, soil, vegetation and snow cover at the same site. Thus, the
site should be chosen in accordance with the set goal.
An optimal site is a section of valley of a small river or a stream, where
attitudes of the water level and the top point of relief vary within the range of 5-15
meters. It is important that the distance between these extreme points is not very large
Ц within...
This was only the first page from the manual and its full version you can see in the
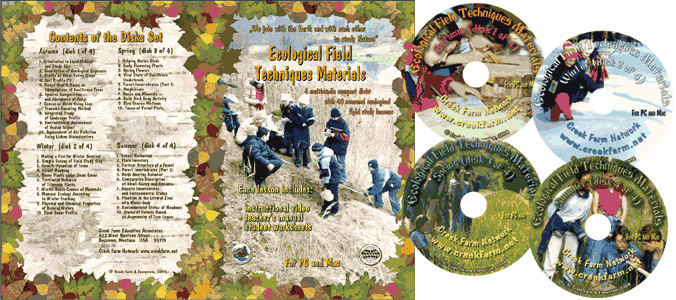
Ecological Field Studies Techniques Video 4CD Set:
It is possible to purchase the complete set of 40 seasonal Ecological Field
Studies Techniques Video (in mpg format) in an attractive 4 compact disk set.
These compact disks are compatible with Mac and PC computers.
The videos are suitable for individual student or whole class instruction. To purchase the complete 4CD set
write to ecosystema1994@yandex.ru in a free form.

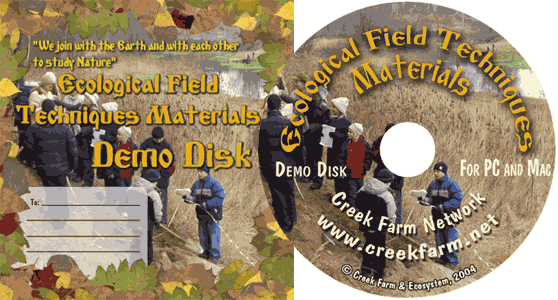
Ecological Field Studies Demo Disk:
We also have a free and interesting demonstration disk that explains our ecological field studies approach.
The demo disk has short excerpts from all the seasonal field study videos as well as sample text from all the teacher manuals.
The disk has an entertaining automatic walk through which describes the field study approach and explains how field studies meet education standards.
You can also download the Demo Disc from ecosystema.ru/eng/eftm/CD_Demo.iso.
This is a virtual hybrid (for PC and Mac computers) CD-ROM image (one 563 Mb file "CD_Demo.iso").
You can write this image to the CD and use it in your computer in ordinary way.
You also can use emulator software of virtual CD-ROM drive to play the disk directly from your hard disk.

|


