- Helping Native Birds
- Early Flowering Plants
- Spring Flowers
- Vital State of Coniferous Underbrush
- Forest Invertebrates (Part 1)
- Amphibians
- Rocks and Minerals
- Daily Bird Song Activity
- Bird Census Methods
- Fauna of Vernal Pools
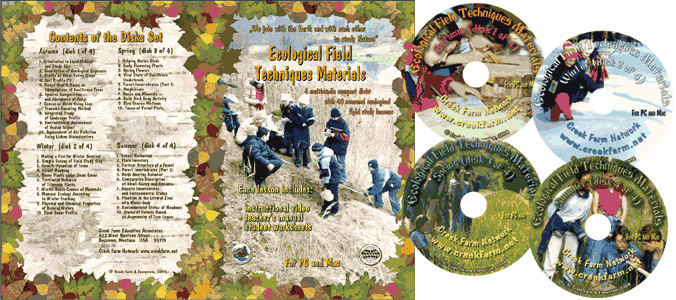
Ecological Field Studies Techniques Video 4CD Set:
It is possible to purchase the complete set of 40 seasonal Ecological Field
Studies Techniques Video (in mpg format) in an attractive 4 compact disk set.
These compact disks are compatible with Mac and PC computers.
The videos are suitable for individual student or whole class instruction. To purchase the complete 4CD set
write to ecosystema1994@yandex.ru in a free form.
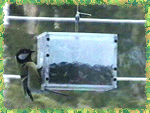 |
This field study begins the series of spring activities. Students will
learn how to make bird feeders and artificial nesting places which will attract birds in
the vicinity of your school or field study site. |
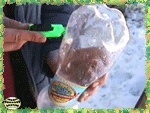
| There are many types of feeders for small birds but the simplest ones are
feeders made ofempty plastic bottles because they are available in large quantities, they
are also lightand ef-fective. |
 |
 |
In order to make a feeder we provide simple directions for students.
Adaptations to our strategy are easily incorporated into the activity. Feeders described
in this lesson will certainly attract numerous species of birds which can be easily
observed in future field studies. |
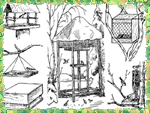
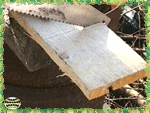
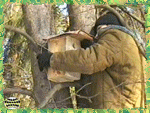
| The second part of the video explains how to create houses for titmice,
flycatchers, red-starts and other small birds which nest in the hollows of tree trunks.
Hanging the nesting boxes is an important, but enjoyable activity. |
 |
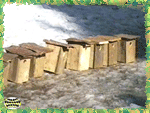 |
In temperate climates, we recommend finishing work at the end of Winter,
so that early-nesting birds will be able to occupy them in early Spring. Hanging plenty of
nesting boxes in the vicinity of a school will insure numerous birds subjects for the
purpose of future studies. |
| This lesson will help students learn concepts related to bird ecology and
develop practical skills in construction and observation. In addition, the lesson will
help students develop scientific attitudes such as positive feelings and values about
ecology and human relationships with nature. |
 |

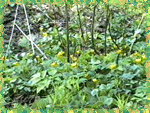 |
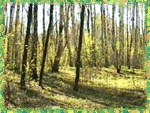
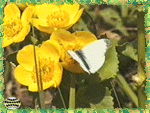
The objective of this study is to search for plants that blossom right
after the snow melts. Students will learn how to conduct geobotanical descriptions at
field study sites and effective presentation of the results. |
| The field aspect of the study starts with selection of suitable biotopes,
plant families, which are characterized by abundance of early flowering species.
Appropriate plant families tend to be associated with deciduous broadleaf forests. |
 |
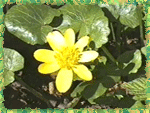 |
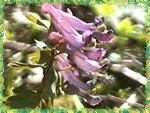
Typical forest habitats are characterized with an abundance of plants
which develop early, blossom quickly and then wither. Thus they are only found in early
spring. Most have bright flowers, yellow, blue or pink. |
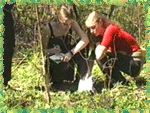
| The study consists in laying sites of 10 m x 10 m in places where early
flowering plants grow. Then the sites are described according to standard geobotanical
schematics. The next stage is description of grass cover, including description of the
early flowering plants. |
 |
 |
Students prepare a notebook of early flowering plants and answer the
following questions: What biotopes are most early flowering plants found in and why? What
is the ratio of blossoming and non-blossoming plant species? What adaptations do different
species exhibit? |

| In this field study students learn about flowering plants as well as
patterns of spring development of plants in different plant families. This strategy is
relatively simple because it is mainly descriptive. |
 |
 |
The task of this field study is to find as many flowering plants as
possible by visiting as many different habitats as possible. Field work begins when
students arrive at the study site to observe, record all blossoming plants and if possible
at the site determine their identification. |
Students also record what layer of the plant association the plant
species is associated with: moss, herbaceous, shrubby or tree. The phenological phase of
the plant development is another necessary characteristic of the found plant.
It is especially interesting to compare contrasting plant associations, for instance, dark
forests and light meadow plant associations. Conducting this work repeatedly in the course
of the growing season helps students understand patterns of seasonal development of flora. |
 |
 |
Field studies result in a list of blossoming plants according to
different plant associations. Students will answer the following questions: What plants
blossom simultaneously in the given period of time and why are these plants blooming? What
factors influence their fluorescence at the very moment? How are phases of plant
development shifted in different plant associations and why? |

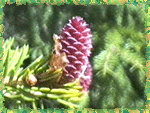
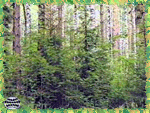
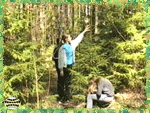
In this field study, students will learn how to determine the age of
young coniferous trees, study their rate of growth, and carry out simple quantitative data
analysis.
This work focuses on the study of the growth rate of young trees in different biotopes
determined by measuring their height and age. Collection of field data should be organized
into several contrasting plant associations rich in coniferous underbrush. |
 |
 |
Before taking measurements, it is necessary to carry out a standard
geobotanical description of tree-shrub layer based on filling in a standardized form of
vegetation cover in each of the chosen biotopes. |
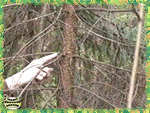
| Students will then proceed to measurements of height and age of
coniferous underbrush. It is advisable to measure as many different aged trees, the more
trees of different age that are studied, the more precise the results. Data can be
recorded in the form of a simple table. |
 |
 |
Results of measurements are presented in the form of a graph depicting
underbrush height dependent on its age in different biotopes. The steeper the curve, the
more intense the underbrush grows. The gentler the curve, the lower the vital state of the
underbrush. |

| In this field study students learn procedures for invertebrate collection
in different habitats, including living organisms found in forest litter, tree stumps,
decomposing wood and under tree bark. |
 |
 |
The activity begins with discussion of diversity of forest invertebrate
habitats and ecological niches, procedures for collection and census as well as
constructing collection instruments for each ecological group of animals. |
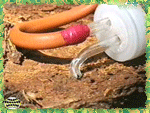
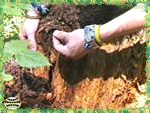
| In the case of forest litter, the main technique is visual examination,
the main instruments for collection are fingers, tweezers and an exhauster. The material
of the forest litter is sorted by layers, starting with a grass layer, then humus and then
top soil horizons. |
 |
 |
In addition to forest litter there is a number of productive study sites.
Decaying tree stumps serve as an intermediate habitat between forest litter and trees.
They are usually poorly inhabited, so the search for animals is reduced to manual
searching in the dust of rotten wood. |
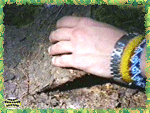
| Study of invertebrates, living on felled trees is somewhat easier, as
their habitat is mainly the bark and surface of the tree just under the bark. When
conducting this activity with stu-dents, attention should be paid not only to caught
animals, but to their traces as well. |
 |
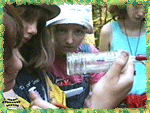 |
We recommend having students count the number of species and determine
the density of their populations on different substrata and in different biotopes. When
the number of caught organisms and the site size are known, then it is possible to
estimate the density of animals. |

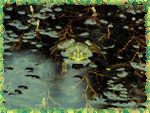
| In this field study students will learn about amphibians, how to conduct
a census of amphibians in different biotopes and how to study the age structure of
amphibian populations. |
 |
 |
In biomes where seasonality brings increased moisture students may sample
during a reproduction period making it possible to study the amount of laid eggs as well
as to conduct a census of frogs found within the local area. |
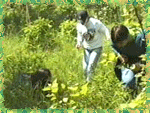
| Census is usually carried out according to route procedure: a group of
students walk in a chain, combing the area within a path of given width and catching all
discovered animals. Such a census can be carried out in different habitats at different
distances from a water body. |
 |
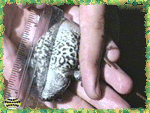 |
The rest of the work aimed at population structure study is carried out
in the laboratory. The age population pyramids are plotted on the basis of amphibians body
size measurements. It is necessary to measure all caught frogs in order to complete this
task.
The processing stage is ranking, detection of the age of each size class of frogs with the
help of simple statistical method of ranking. Bar diagrams are drawn on the basis of size
ranking data, where height of the bar indicates the number of amphibians of the given
size. |
| This is a fun activity in which students eagerly participate. The
incidence of amphibians has been of global concern and through this field study students
come to realize the significance of local studies in understanding larger global issues. |
 |

 |
In this field study students learn what stones are under their feet,
where they are found and where they come from. The field activity is to visit all local
sites where it is possible to collect rocks and minerals. |
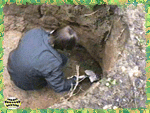
| First there are pits or quarries which can be very interesting,
especially when rummaging through discarded rock piles. Students will complete a standard
label for each collected sample indicating where, when and by whom the sample has been
collected. |
 |
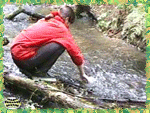 |
Another suitable location for sample collection is riverbeds and stream
channels, in particular, streams, which have deep valleys. Stones are likely to be found
on banks and within the bed of the current. |
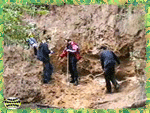
| If there are some rocky outcrops, undermined by a river or a stream, it
is interesting to take samples of sand for subsequent identification, as sand represents
the finest rock particles. |
 |
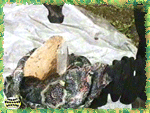 |
Laboratory processing of collections begins with preparation of samples
for subsequent identification. Prior to identification, all samples are sorted according
to their appearance. They are arranged together with their labels so as not to confuse
where the minerals have been collected. |
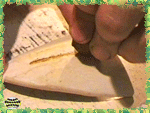
| Six main distinctive features should be determined for each mineral:
coloring, luster, hardness, color of line, form of clumps and additional characteristics.
The name of rock types is defined according to structure, color and composition of
component minerals and size of particles. |
 |
 |
Results of studies are represented in the form of a list of rocks and
minerals found in the area under study. It is also possible to construct a collection of
rocks and minerals on the basis of field studies. |

| This field study will help students to learn the most abundant, typical
nesting bird species in their area and help them to conduct a simple census of bird
populations during the nesting period. |
 |
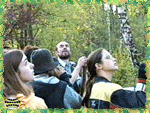 |
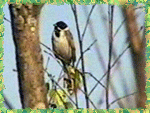
It is well known that ornithological studies connected with bird census
are somewhat difficult so this study should begin with specific skill training for
students taking part in the census. The most important objective is to teach students to
identify birds according to their voices. |
| To begin, students should identify at least five to seven of the main,
most abundant bird species. Students should learn the calls of singing birds until they
are able to identify birds according to their songs. |
 |
 |
The field study strategy consists in repeated passage of the same route
within one day, with recording of all singing birds along the route combined with analysis
of the dynamics of birds' daytime activity. |
| The route can be arbitrary, the most important thing is that the route
should be constant. Each census is conducted along the same route at an equal time
interval, for instance, in two or three hours. |
 |
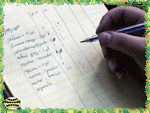 |
Students record: time of census, weather conditions and all singing birds
on both sides of the route within hearing limits. Field records can be kept in the form of
a table. in the case of multiple censuses, bird species are the same and new ones are
added to the bottom of the list.
Material processing is very simple - dynamics of birds' singing activity is shown on a
graph. The number of bird species and overall number of all the singing males should be
plotted on the graph. Students will also determine what bird species sing, when, and why? |

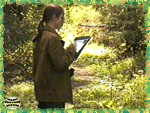
| In this field study students will master three different techniques for
quantitative census of birds - "line transect" counting method,
"point" census and bird count on the "square plot". |
 |
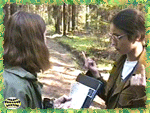 |
A peculiarity of this lesson is that all three censuses are conducted
concurrently in the same area and at the same time by three different groups of students. |
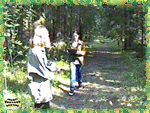
| "Line transect" and "point" censuses can be carried
out as follows. At the beginning of the route, one student stands listening to birds for
five minutes then having counted and re-corded all the birds, quickly goes to the second
site covering a distance of 200 meters. |
 |
 |
At that time, the second student starts "line transect" census
along the same route and slowly goes in the direction of the second site, carrying out a
standard route census registering all birds on both sides of the route. |
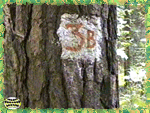
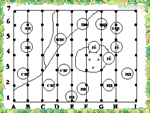
| "Square plot" census is carried out at the same time near the
route of previous two censuses. It is in a "square plot" using a
"shuttle" method on parallel routes. All birds are plot-ted on a map of the area
indicated by a network of markers hung on trees. |
 |
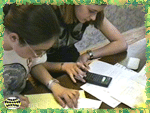 |
Analysis of data obtained by different censuses is carried out by
different methods. As a result of this field study students must analyze the differences
in efficacy and precision of used techniques. |

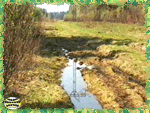
| This field study is devoted to locating and identifying invertebrate
animals living in temporary water reservoirs or vernal pools. These fragile habitats are
left after heavy rains, snow melt or river flooding. |
 |
 |
In temperate moist biomes vernal pools typically occur in spring season.
Such water reservoirs can include, small lakes which are left within a river floodplain
after flood, large pools of melt water in the forest, puddles on forest roads or ruts from
tire tracks on dirt roads. |
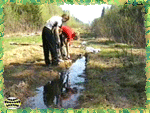
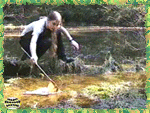
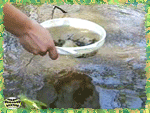
| The main instrument for catching invertebrates associated with these
temporary water pools is a net made of a wire with a gauze bag. Having passed the net
several times in different parts of the water body, students place the catch into a white
dish. |
 |
 |
Students identify and count the animals collected before returning them
to the pools. Students must be instructed to not catch all animals. If a species is
unknown, it is enough to take one representative of each species to be later determined in
the lab. |
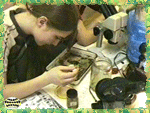
All animals caught are identified under laboratory conditions. This is
carried out with the assistance of field guides, atlases and help of the teacher. The
study should result in lists of animal species for each of the studied water-bodies.
While analyzing data, students answer the following questions: How is the species
composition of animals connected with origin of the studied temporary water-body and its
distance away from the permanent water reservoir? How do animals get to the given
temporary water-body? What happens to animals after the water reservoir dries up and what
adaptations do these animals have? |
 |
See the manual "Study of Fauna of Spring
Temporary Water Bodies"
Top
Ecological Field Studies Techniques Video 4CD Set:
It is possible to purchase the complete set of 40 seasonal Ecological Field
Studies Techniques Video (in mpg format) in an attractive 4 compact disk set.
These compact disks are compatible with Mac and PC computers.
The videos are suitable for individual student or whole class instruction. To purchase the complete 4CD set
write to ecosystema1994@yandex.ru in a free form.

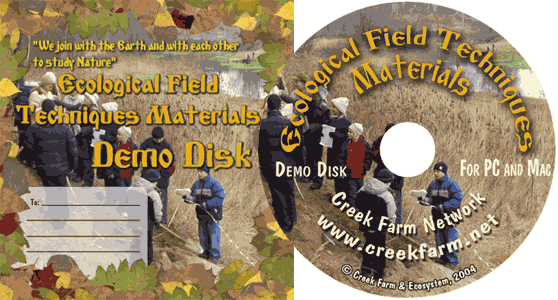
Ecological Field Studies Demo Disk:
We also have a free and interesting demonstration disk that explains our ecological field studies approach.
The demo disk has short excerpts from all the seasonal field study videos as well as sample text from all the teacher manuals.
The disk has an entertaining automatic walk through which describes the field study approach and explains how field studies meet education standards.
You can also download the Demo Disc from ecosystema.ru/eng/eftm/CD_Demo.iso.
This is a virtual hybrid (for PC and Mac computers) CD-ROM image (one 563 Mb file "CD_Demo.iso").
You can write this image to the CD and use it in your computer in ordinary way.
You also can use emulator software of virtual CD-ROM drive to play the disk directly from your hard disk.
|


