|
| Our Field Ecology Center published more than
180 methodical materials for nature studies. Some of them are in English: |
|
|
|
Orienteering in the Forest
© Alexsander S. Bogolyubov,
Russia, 1999
© Michael J. Brody, USA,
2003
 This manual
contains a description of the procedure for teaching students simple skills with a map
and a compass Ц how to find north and south, measure azimuth, find directions and
УreadФ a map; as well as the procedure of laying a route for orienteering and
organizing competitions on the route. This manual
contains a description of the procedure for teaching students simple skills with a map
and a compass Ц how to find north and south, measure azimuth, find directions and
УreadФ a map; as well as the procedure of laying a route for orienteering and
organizing competitions on the route.
This field study has instructional video
featuring real students conducting the ecological field techniques in nature. Each video
illustrates the primary instructional outcomes and the major steps in accomplishing the
task including reporting the results.
Introduction
Most environmental investigations require the mapping of observed objects,
phenomena and sites, or at the least, some skill at orienteering in nature.
In this introductory lesson students will learn the elementary skills of using a
map and a compass Ц the easiest instrument designed for orienteering and mapping. In
addition, students will master skills of practical orienteering in field in the form of a
sporting competition.
Later on, the skills that students acquire during this lesson will be applied when
carrying out an eye survey in the field (winter, lesson #2), when drawing a geobotanical
map of the forest (winter, lesson #4), and in part when laying a profile and conducting
integrated studies at the landscape profile (fall, lessons #3 and #8), as well as during
many other ecological field study lessons. In fact, both map skills and orienteering are
integrated parts of any fieldwork regardless of the section of field ecology or
research object.
This lesson includes three phases: 1) teaching students how to use a map and
compass, 2) laying a route for orienteering and 3) arranging the orienteering competition.
It is recommended that the teacher prepare the route in advance (without
participation of students who will take part in the competition); the training and
competition itself can be conducted in one day.
For this lesson, the following items are required: a wall-map (choose a
large-scale or middle-scale map) for the theoretical part of the lesson, and a student kit
consisting of: 1) a compass, 2) a map of the site where the route will be located, 3) a
large-scale map of the area where the lesson takes place (if there is not such map a map
of the route for orienteering can be used instead) and 4) a calculator. The kits should be
available for each pair of students (or at least for each three students) in the group.
How to use a map and compass
The lesson should begin with the theoretical part: students are taught that a plan
or a map is a drawing where the horizontal position of a certain area (which is
conditionally taken as a plane) is put on the map in a reduced image.
For the purposes of the ecological field studies program it is important to differentia
between a УplanФ and a Уmap.Ф The difference between a plan and a map is in
scale, i.e. small areas are drawn as a plan, whereas large areas are plotted on a map.
At the same time it is significant that a map takes into account the general curvature
of...
This was only the first page from the manual and its full version you can see in the
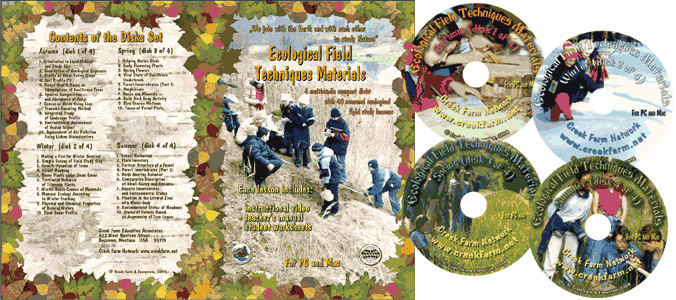
Ecological Field Studies Techniques Video 4CD Set:
It is possible to purchase the complete set of 40 seasonal Ecological Field
Studies Techniques Video (in mpg format) in an attractive 4 compact disk set.
These compact disks are compatible with Mac and PC computers.
The videos are suitable for individual student or whole class instruction. To purchase the complete 4CD set
write to ecosystema1994@yandex.ru in a free form.

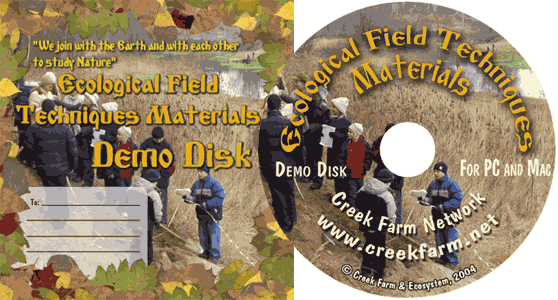
Ecological Field Studies Demo Disk:
We also have a free and interesting demonstration disk that explains our ecological field studies approach.
The demo disk has short excerpts from all the seasonal field study videos as well as sample text from all the teacher manuals.
The disk has an entertaining automatic walk through which describes the field study approach and explains how field studies meet education standards.
You can also download the Demo Disc from ecosystema.ru/eng/eftm/CD_Demo.iso.
This is a virtual hybrid (for PC and Mac computers) CD-ROM image (one 563 Mb file "CD_Demo.iso").
You can write this image to the CD and use it in your computer in ordinary way.
You also can use emulator software of virtual CD-ROM drive to play the disk directly from your hard disk.

|


